
![]()
Welcome to another edition of Dr. Frank’s Free Pattern Fridays!
Before we get to this week’s pattern, I have a few shop announcements:
1)The Small Knitted Pie Set Pattern is now available. Learn how to make a basic pie slice shape, as well as 3 other delicious-looking variations! It’s an easy to intermediate level pattern and also comes with a bonus tutorial on how to make a knitted pie server.
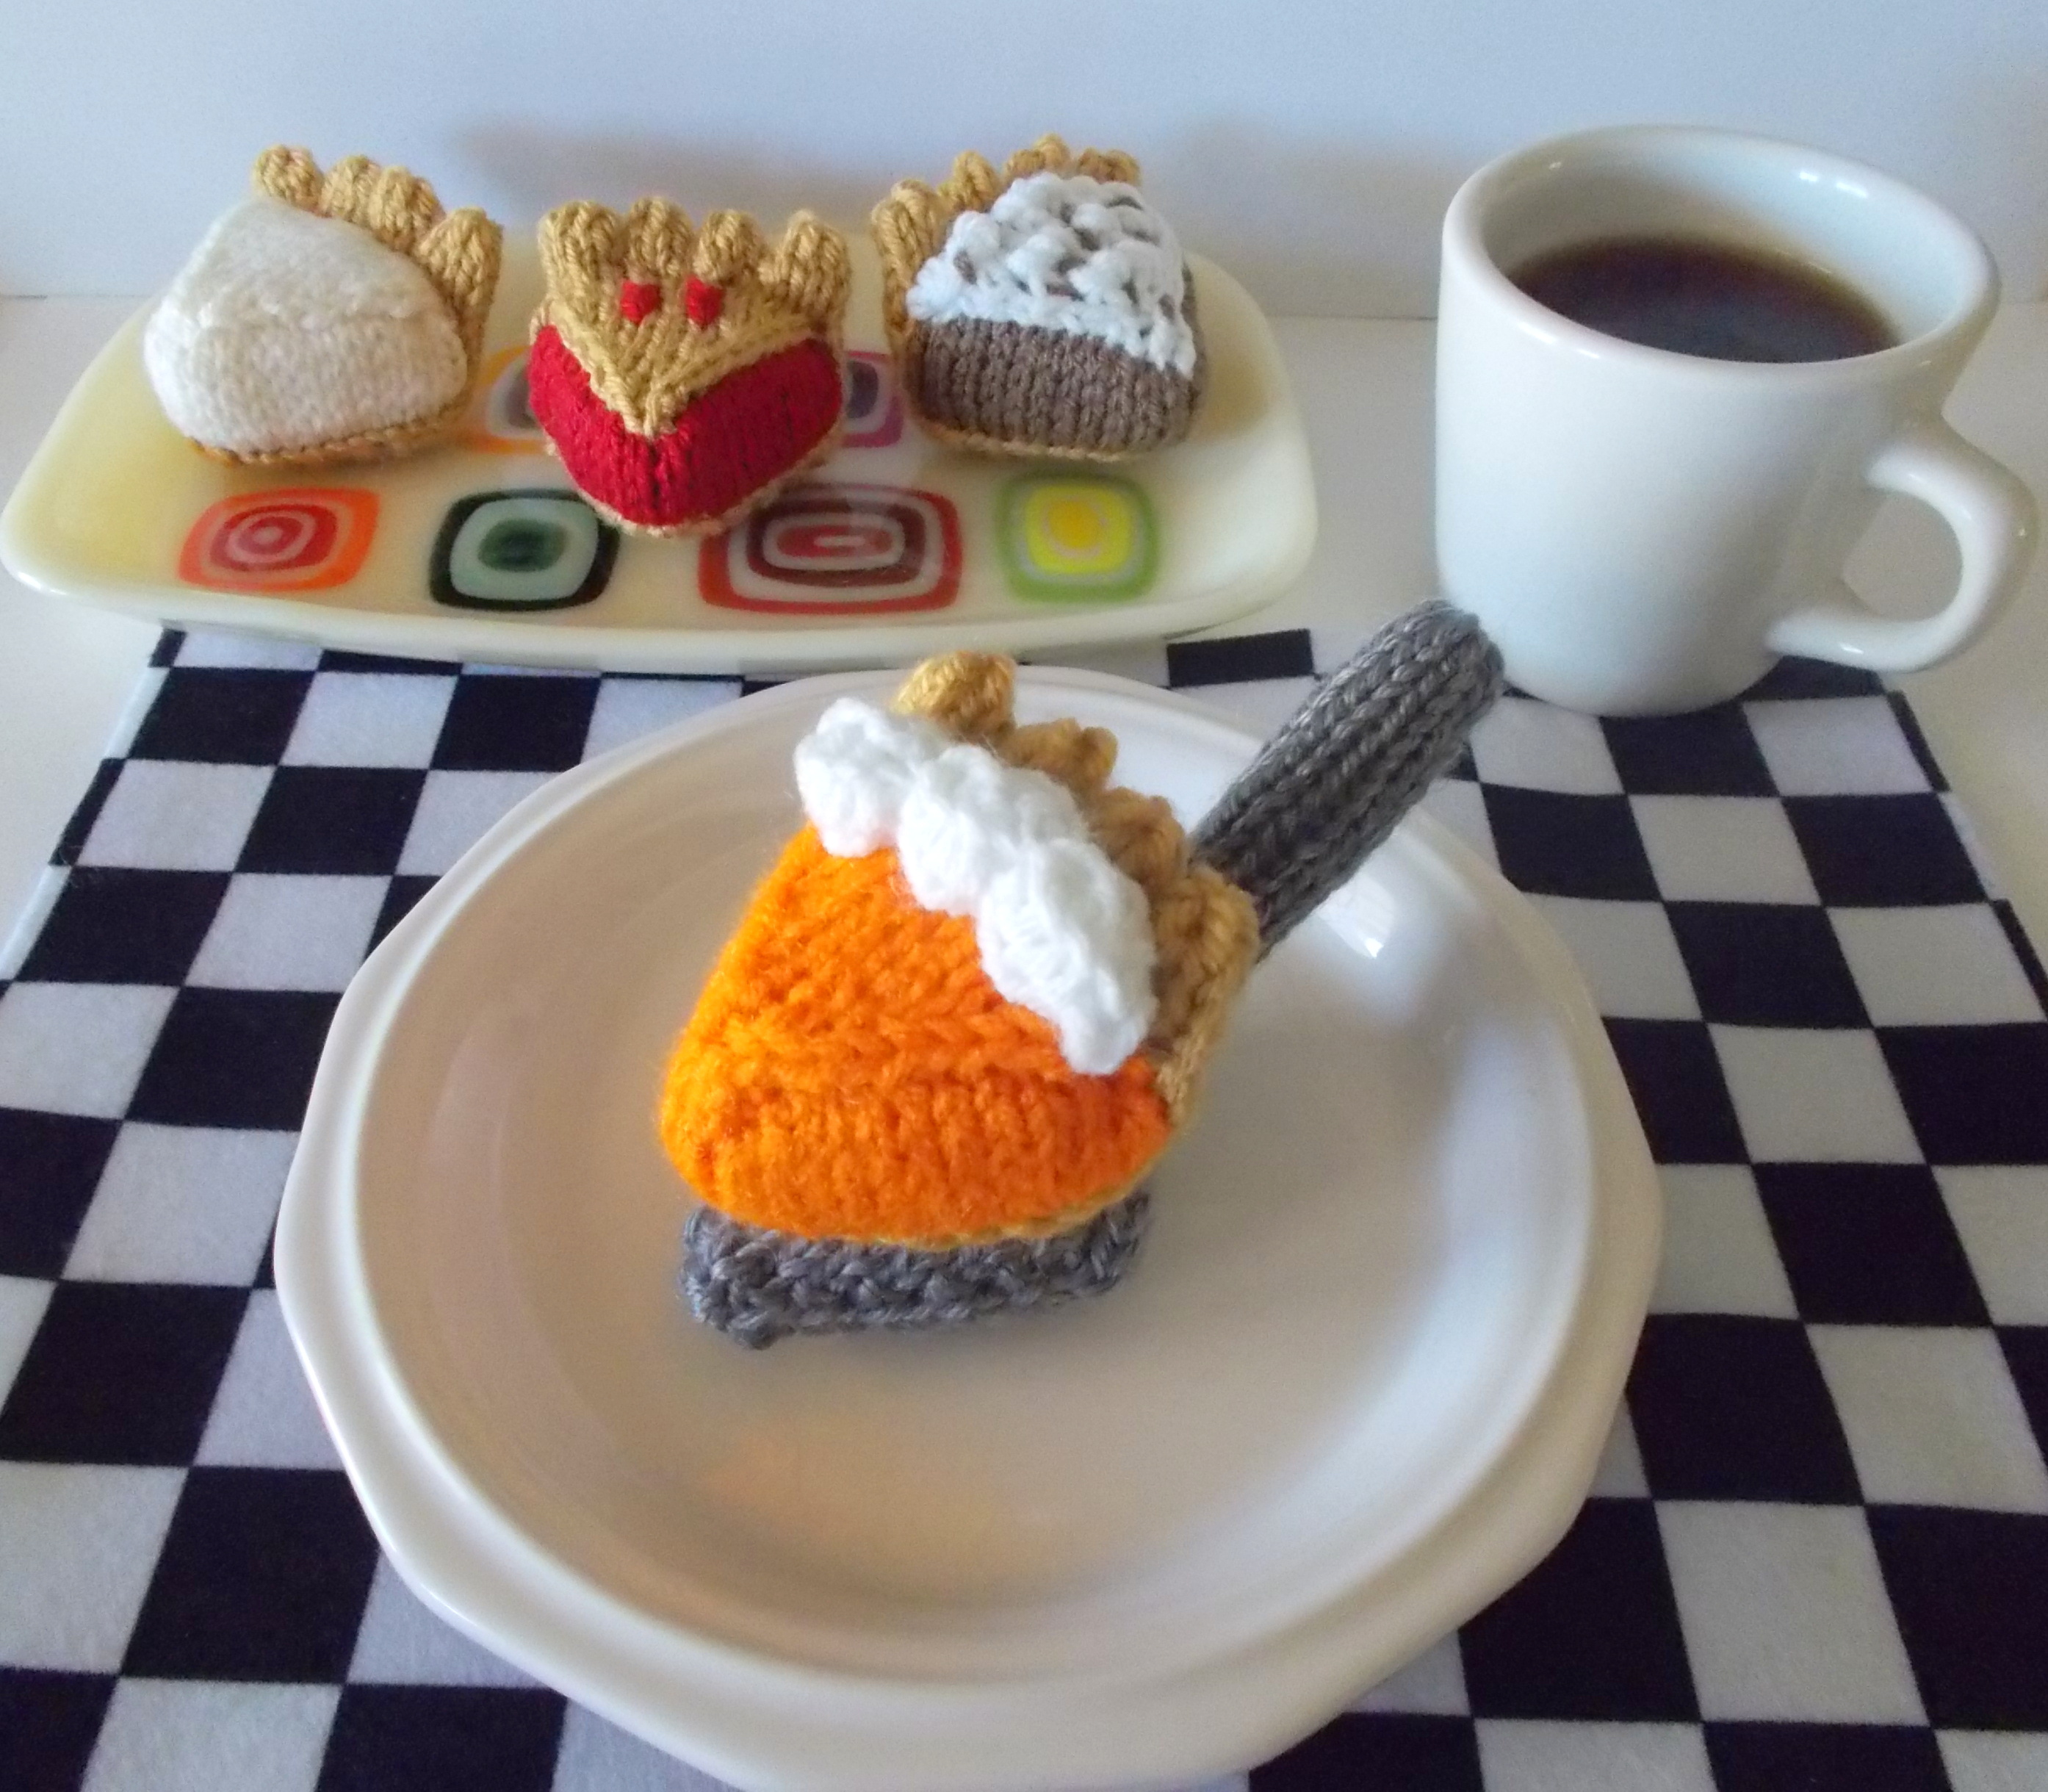
https://www.etsy.com/listing/196809423/pie-softies-playset-original-knitting?ref=shop_home_active_2
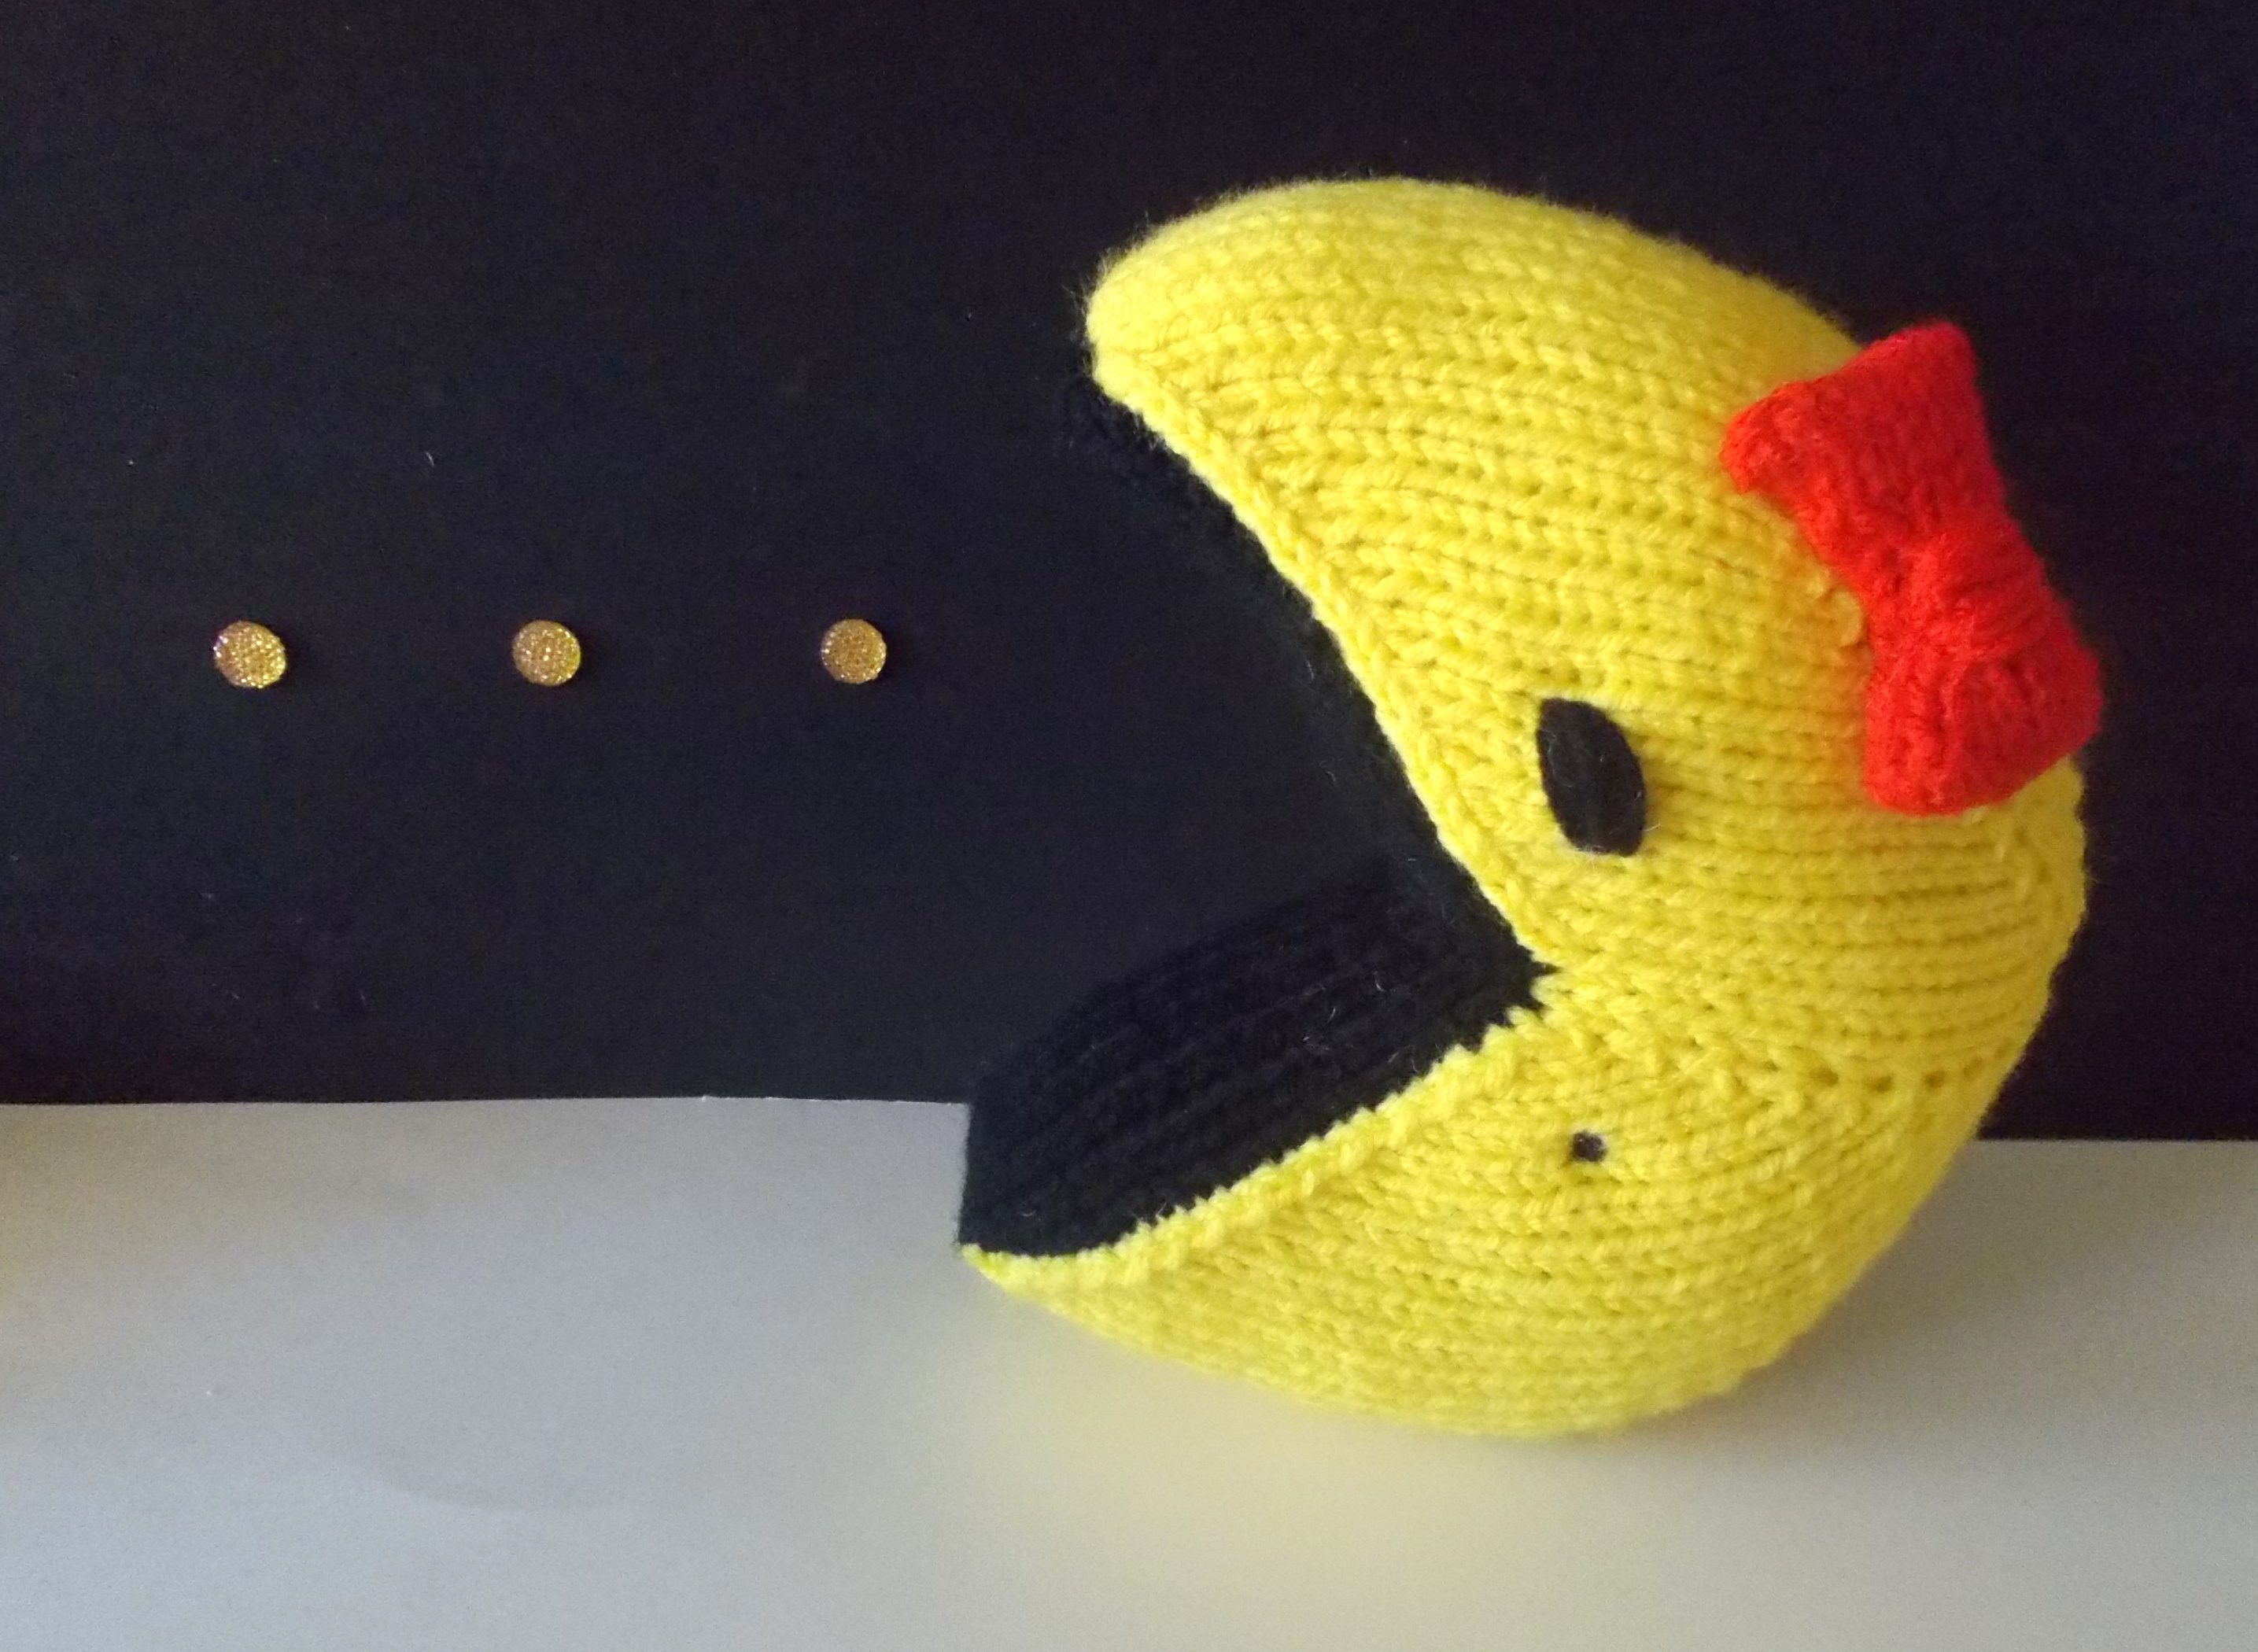
2) Also available now is a large hand-knit Pac-Man doll! It’s about 7 inches tall and can be made with either a black or yellow mouth lining. It’s also double-sided: One side is Pac-Man and the other side is Ms. Pac-Man with “hair” bow and dimple! It’s a fun toy for play or display!
Don’t forget about the blog reader discount for this month! Use coupon code DFKBLOG1 at checkout and get 20% off your order!
Alright, on to this week’s pattern! In honor of my large Pac-Man doll, I’ve created a mini Pac-Man playset! I don’t know if the game still holds the popularity that it once did, but I know I played the heck out of it as a youngster some 30 years ago … and I think many of you did as well! Designing this playset, with its chomping hero and double-sided ghosts, brought back a lot of memories for me! Please note that this pattern is slightly more difficult and longer than my other free patterns, and may present a challenge for beginners. Feel free to ask questions if you’re having trouble!
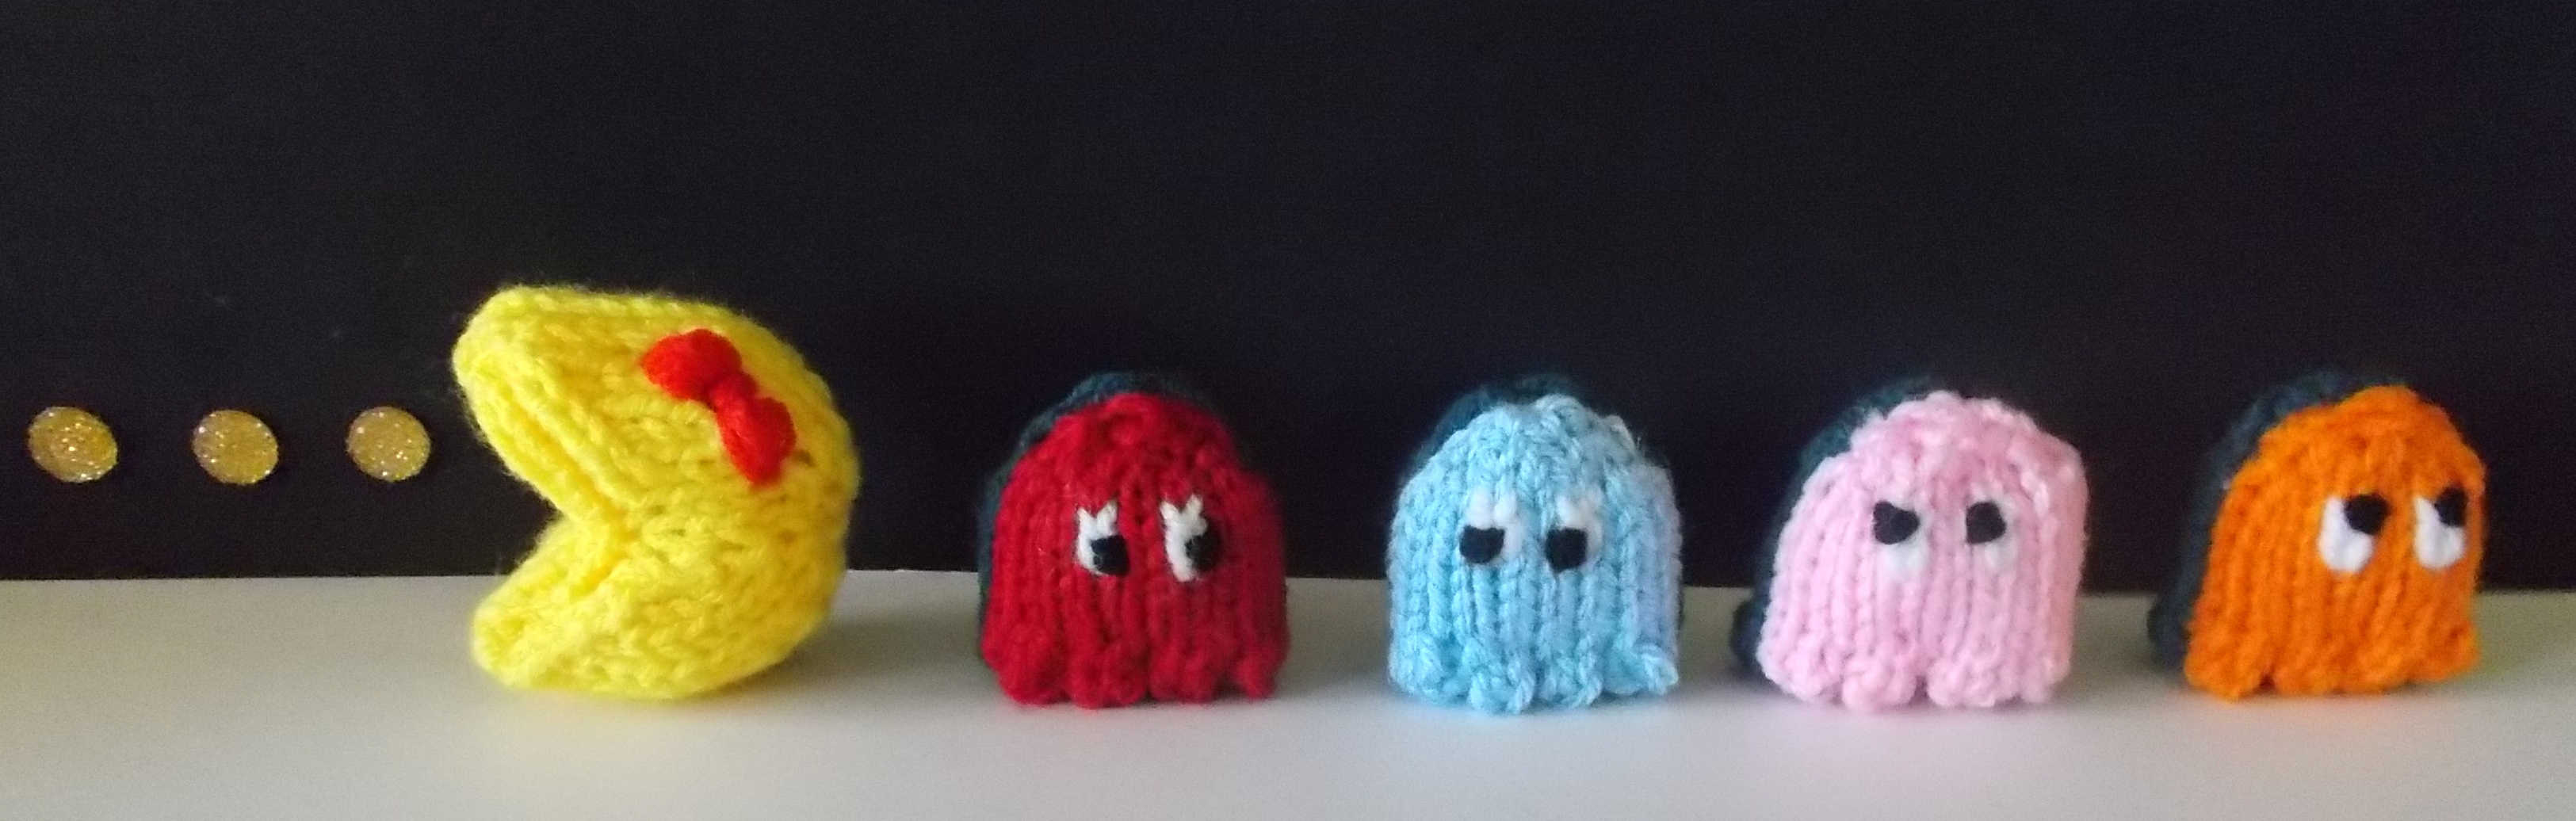

Pac-Man Playset
by Ilana Marks
Materials:
-Worsted Weight Yellow, Black, White, Red, Orange, Pink, Light Blue and Dark Blue Yarns
-1 Set US Size 6 Double Pointed Needles (dpns)
-Polyester Stuffing
-Tapestry Needle
Pac-man
With Yellow yarn, cast on 6 stitches onto 3 dpns and join to knit in the round.
Rnd 1: (kf&b) 6 times (12 st)
Rnd 2: Knit 1 round.
Rnd 3: (kf&b, k1) 6 times (18 st)
Rnd 4: Knit 1 round.
Rnd 5: (kf&b, k2) 6 times (24 st)
Rnd 6: Knit 1 round.
Rnd 7: Knit the first 12 stitches onto one dpn, then slide the remaining 12 unworked stitches onto another dpn or stitch holder
.
Working on just the first 12 stitches, turn the piece to begin working them flat.
Row 8: Purl 1 row.
Row 9: k1, ssk, k6, k2tog, k1 (10 st)
Row 10: Purl 1 row.
Row 11: k1, ssk, k4, k2tog, k1 (8 st)
Row 12: Purl 1 row.
Row 13: k1, ssk, k2, k2tog, k1 (6 st)
Row 14: Purl 1 row.
Row 15: Bind off all stitches knitwise.

Reattach the yellow yarn to the rightmost stitch (with the knit side facing you) of the 12 held stitches. Again, these stitches will be worked flat.

Row 1: Knit 1 row.
Row 2: Purl 1 row.
Row 3: k1, ssk, k6, k2tog, k1 (10 st)
Row 4: Purl 1 row.
Row 5: k1, ssk, k4, k2tog, k1 (8 st)
Row 6: Purl 1 row.
Row 7: k1, ssk, k2, k2tog, k1 (6 st)
Row 8: Purl 1 row.
Switch to black yarn, cutting the yellow yarn. (Note: if you’d like an entirely yellow Pac-Man, simply continue working with the yellow yarn)

Row 9-24: Beginning with a knit row, work 16 rows of stockinette stitch.
Row 25: Bind off all stitches knitwise. Leave a tail for seaming.

Making Up
(There are a lot of tails hanging around, particularly if you did the color change – you can simply cut them reasonably short and tuck them inside the doll before seaming. Make sure to leave the tail from the end of the liner strip – that will be used for seaming.)
Pull the liner piece across the doll to meet up with the bound-off stitches on the other side.
Mattress stitch the bound off edges together using the tail.
Continue mattress stitching along the side of the liner, attaching it to the side of the doll.


When you reach the point where the liner originated, thread the tail through to the other side and continue mattress stitching that side of the liner to the corresponding side of the doll.
When you’re about halfway stitched up on that side, stuff the piece, making sure to get stuffing into the corners.

Continue mattress stitching the final portion of the liner to the doll, adding more stuffing before closing up if necessary.
Weave in the ends. You may use the initial cast-on tail to close up the small hole at the back of the piece.

(You may make a Ms. Pac-Man doll by embroidering a pink or red bow with two sets of 3 or 4 straight stitches near the top.)
Ghosts
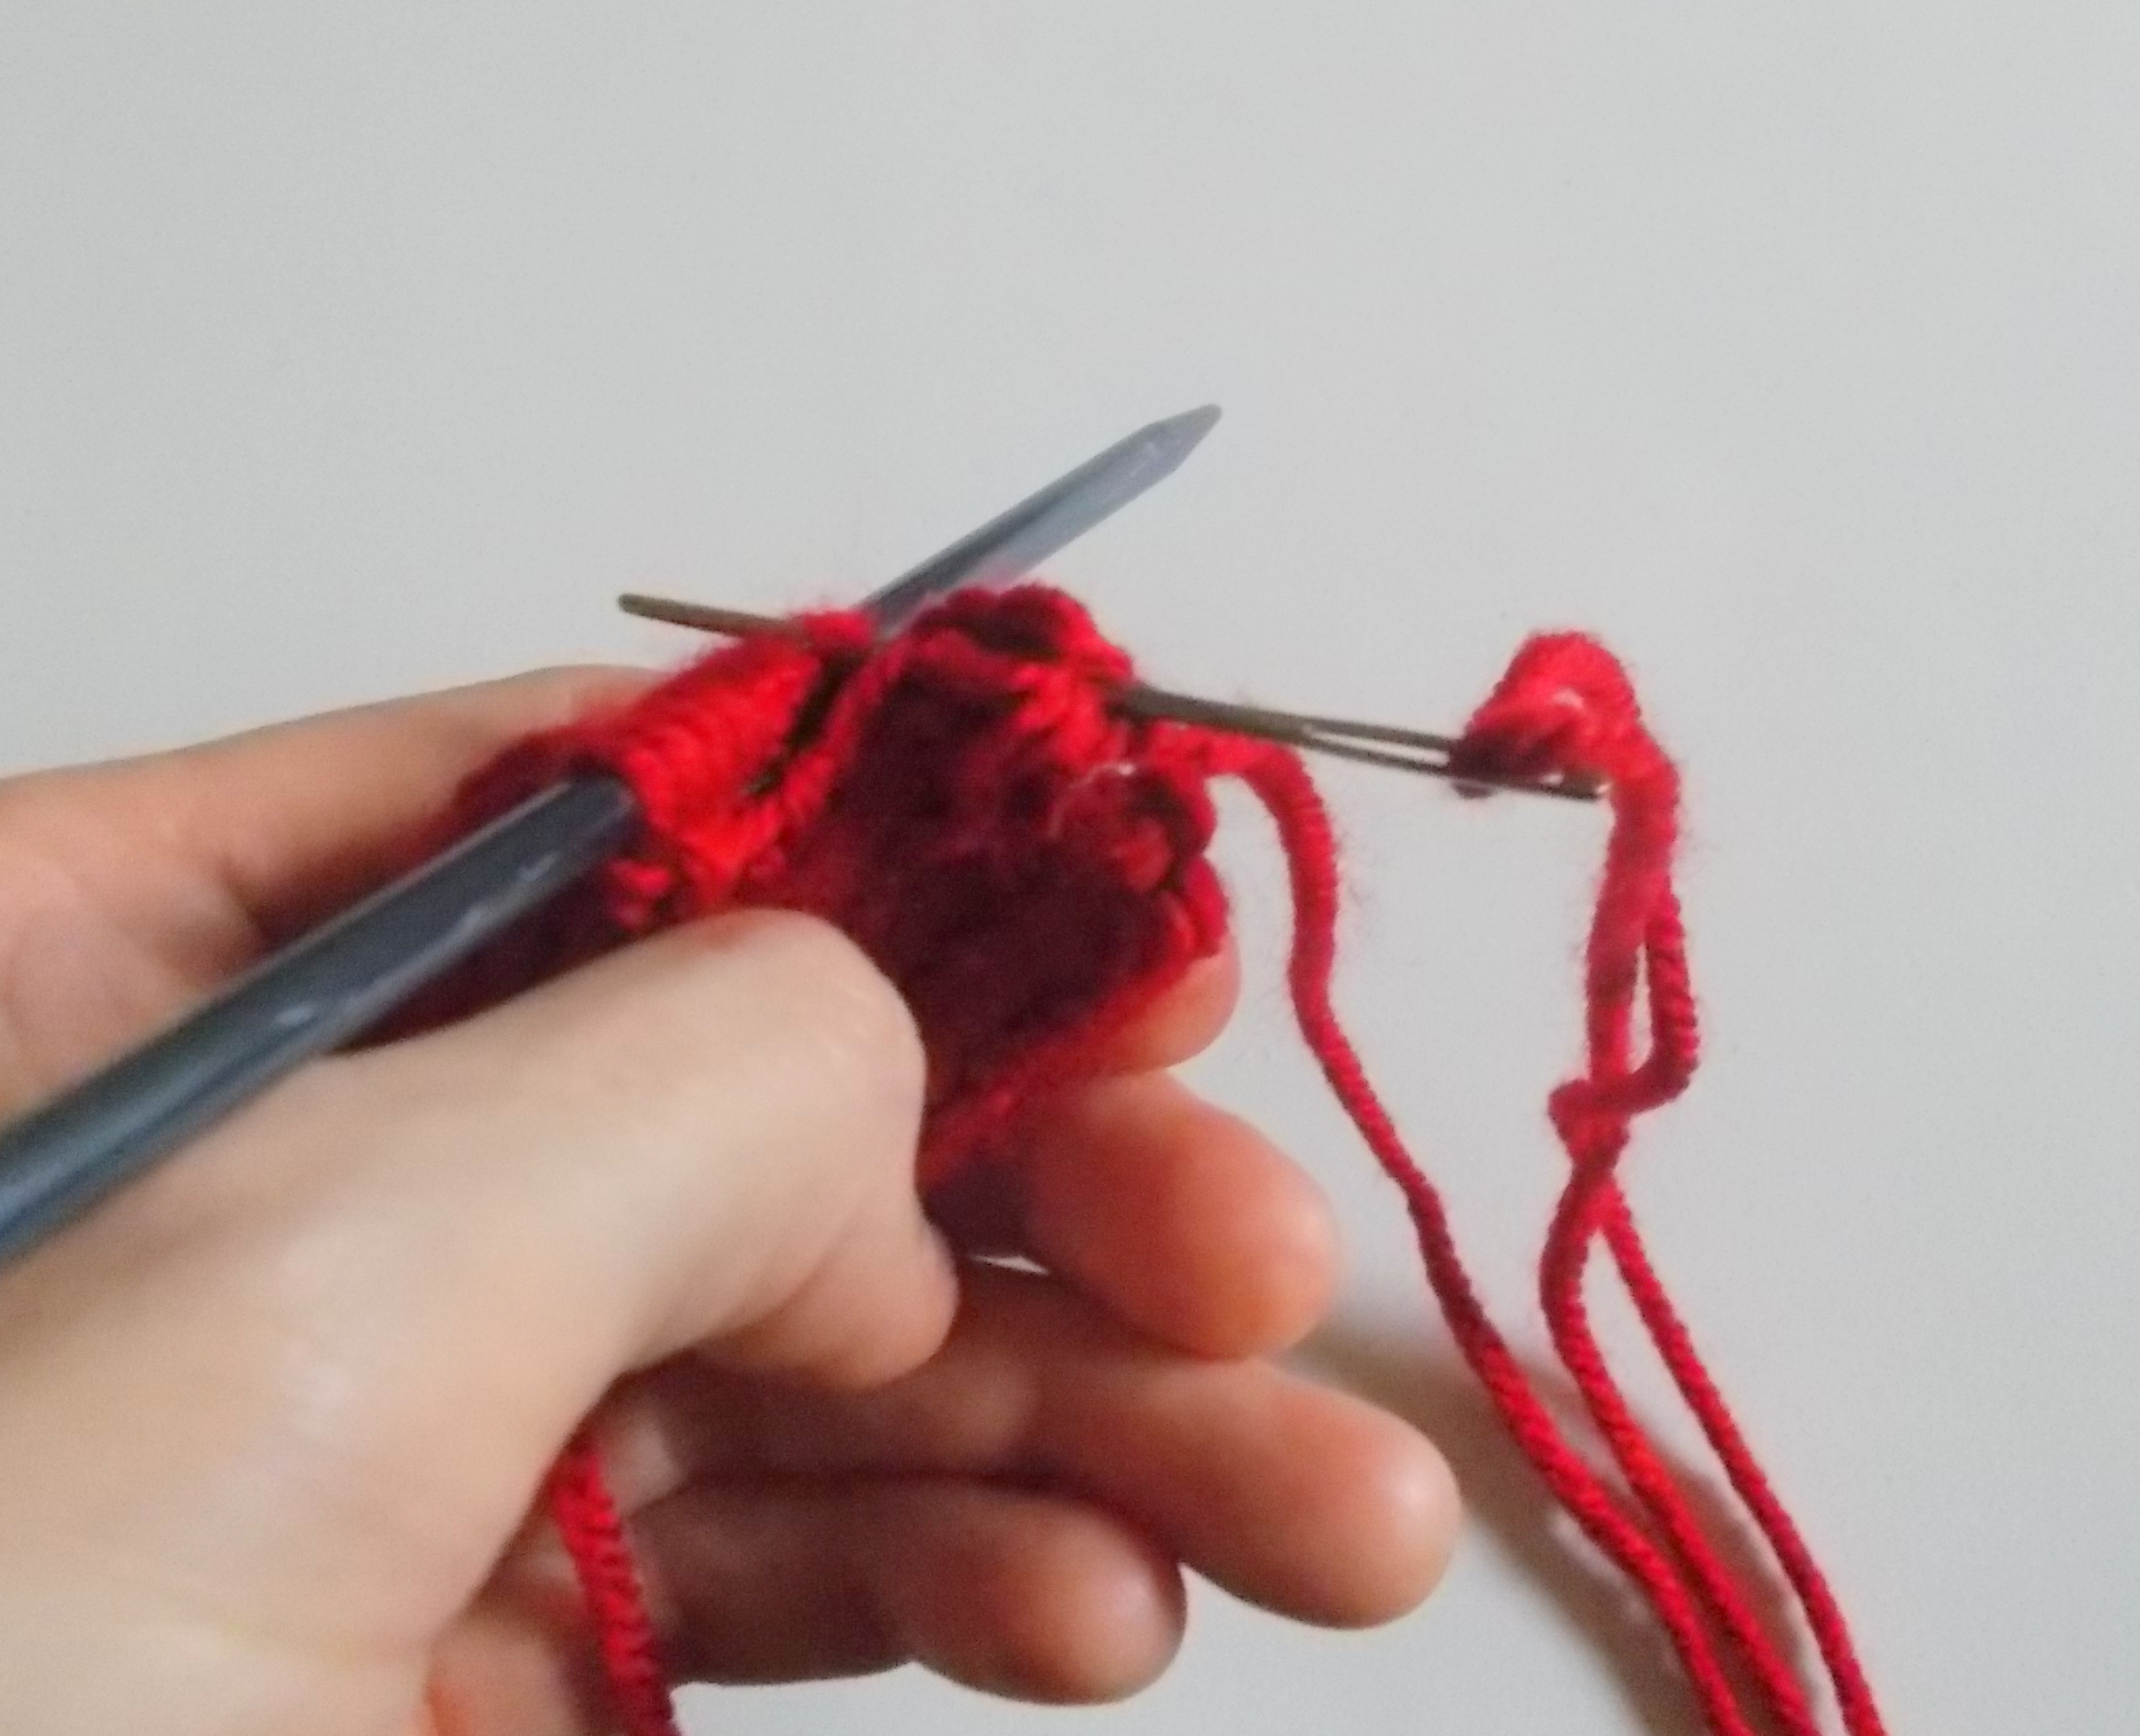
(All ghosts are knit the same way – just in different colors. My pictures depict Blinky, the red ghost)
Using Red yarn, cast on 6 stitches onto 3 dpns and join to knit in the round.
Rnd 1: (kf&b) 6 times (12 st)
Rnd 2: Knit 1 round.
Rnd 3: kf&b, k4, (kf&b) twice, k4, kf&b (16 st)
Rnd 4-9: Knit 6 rounds.
Stuff the piece very lightly.
1) Knit the first two stitches, then place the next 12 stitches onto one dpn or a stitch holder.

2) Pulling the working yarn tightly across these held stitches, knit the last 2 stitches in the round.
3) Knit 1 more round on these 4 stitches.
4) Cut the yarn, leaving a few feet of tail. Thread the tail through all 4 stitches and pull tightly to close.
5) Thread the tail into the closed-up “foot.” Weave the yarn through the middle of the foot and out to attach to the rightmost stitch on the purl side of the held stitches.
6) Place the first two held stitches onto one dpn, and the last two held stitches onto another dpn. Leave the remaining 8 stitches on their holder.


7) Knit the first two stitches, then pull tightly across the held stitches to knit the last two stitches.
(Alternately, you may slide the first two stitches onto the same needle as the last two stitches and work the 4 stitches as i-cord. Not necessarily any easier, but this does make one less needle to fight with!)

8) Knit 1 more round on these 4 stitches.
9) Thread the tail through these 4 stitches and pull tight to close.
10) Again, weave the tail into the closed up foot and draw through to connect to the rightmost held stitch.
Repeat steps 6-10 two more times to make the last two feet.


Weave in the ends. You can use the initial cast-on tail to cinch up the small opening at the top of the ghost.
Features
Cut a strand of White yarn, and make two sets of duplicate stitches about 3 stitches down from the top of the ghost and 1 stitch apart, as shown. Weave in the ends to secure.
Cut a strand of Black yarn and make pupils with 2 stitches for each, wrapping one leg of a duplicate stitch from the previous step. You can adjust the direction the ghost is looking by embroidering the pupils in a different location.


Sleeping Ghost
Work as for the regular ghost, using deep blue yarn instead.
Features
Cut a strand of white yarn and embroider eyes about three stitches down from the top of the ghost, with 2 stitches for each across one knitted stitch and one stitch apart, as shown.
Turn the ghost upside down, and beginning 2 stitches below and just outside an eye, embroider a row of duplicate stitches, 4 stitches long, as shown.


Making Up
Place the colored ghost and the blue ghost back to back, then using a scrap of yarn, stitch them together along the edges. When you get to the feet section, you may attach each foot to its corresponding foot on the other side by making one mattress stitch on the inside, connecting the two. This is easier than seaming all the way around the foot. Finish seaming, then weave in the ends.


Poke and shape your ghost to make it stand on its own, if necessary.
That’s it! Enjoy your new Pac-Man playset! I would venture to guess that Kix cereal would make good Pac Pellets … I haven’t bought or eaten cold cereal in such a long time that I don’t even know if they make that cereal anymore, though! Anyway, grab some small circular candies or cereal and play your own real-life Pac-Man game – this time YOU get to eat the pellets!
I hope you have a wonderful weekend and I’ll see you back here next week for more DrFrankKnits fun!


